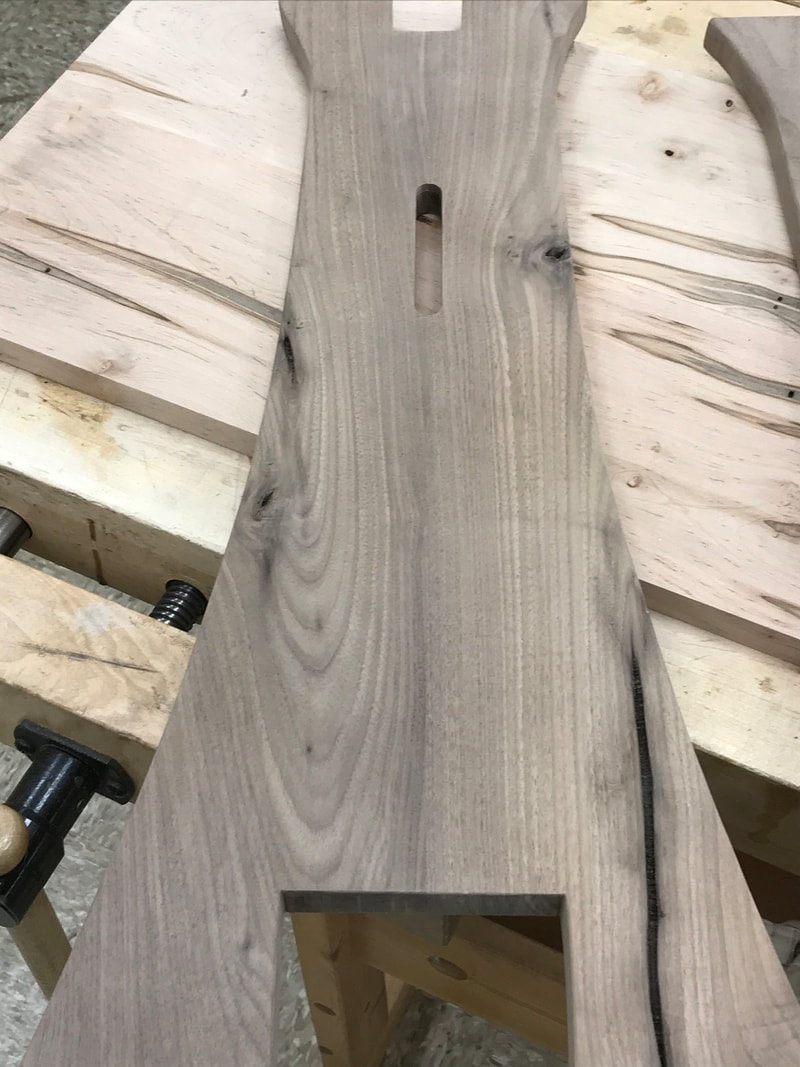
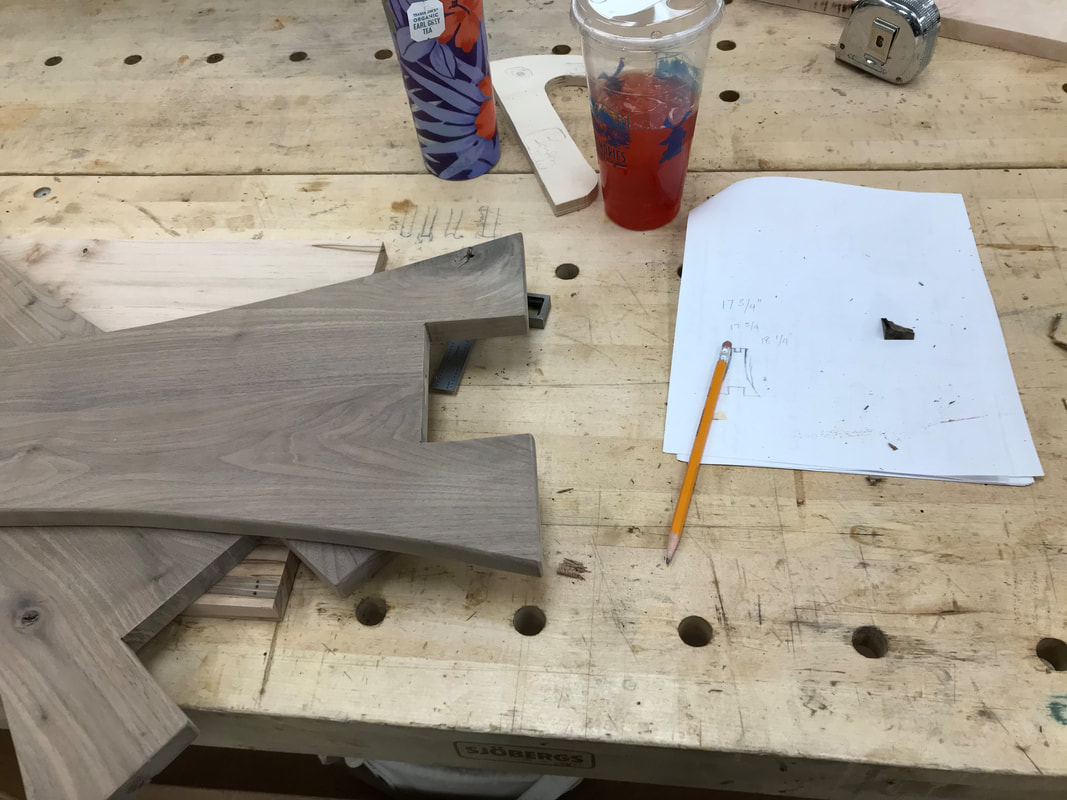
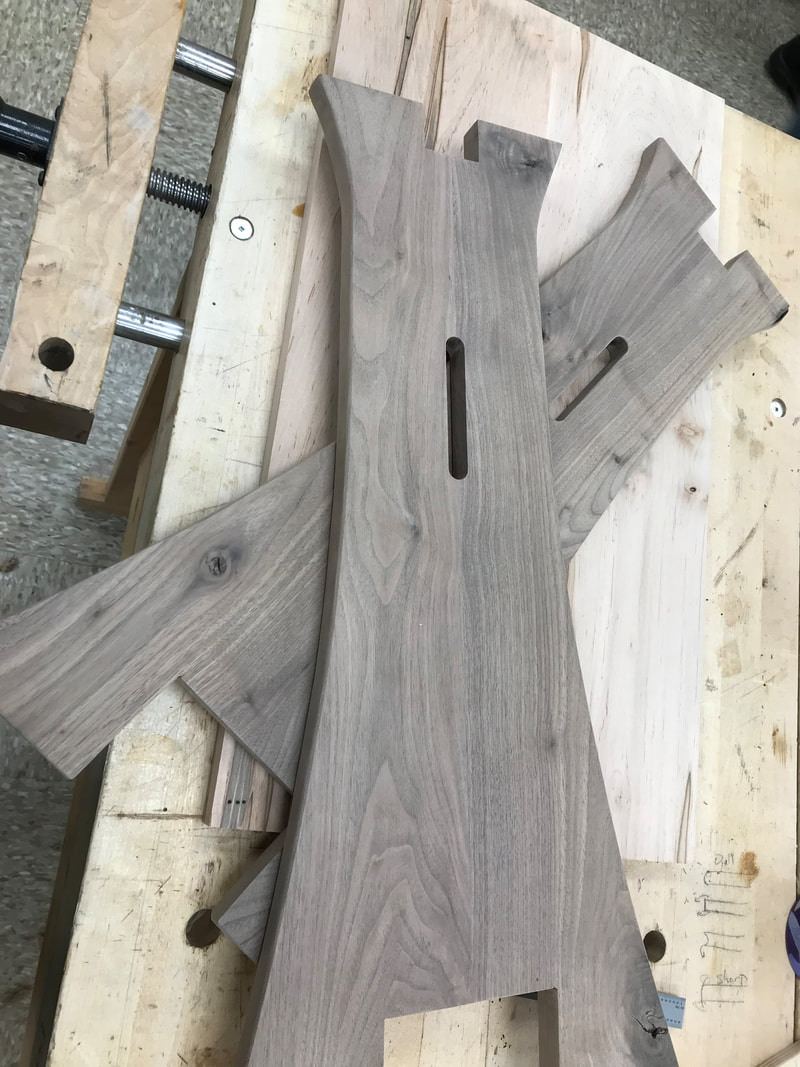
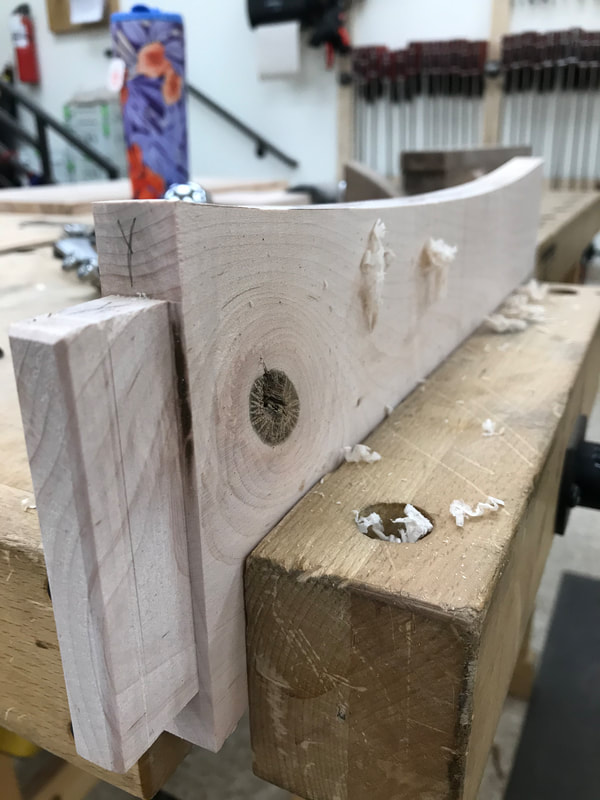
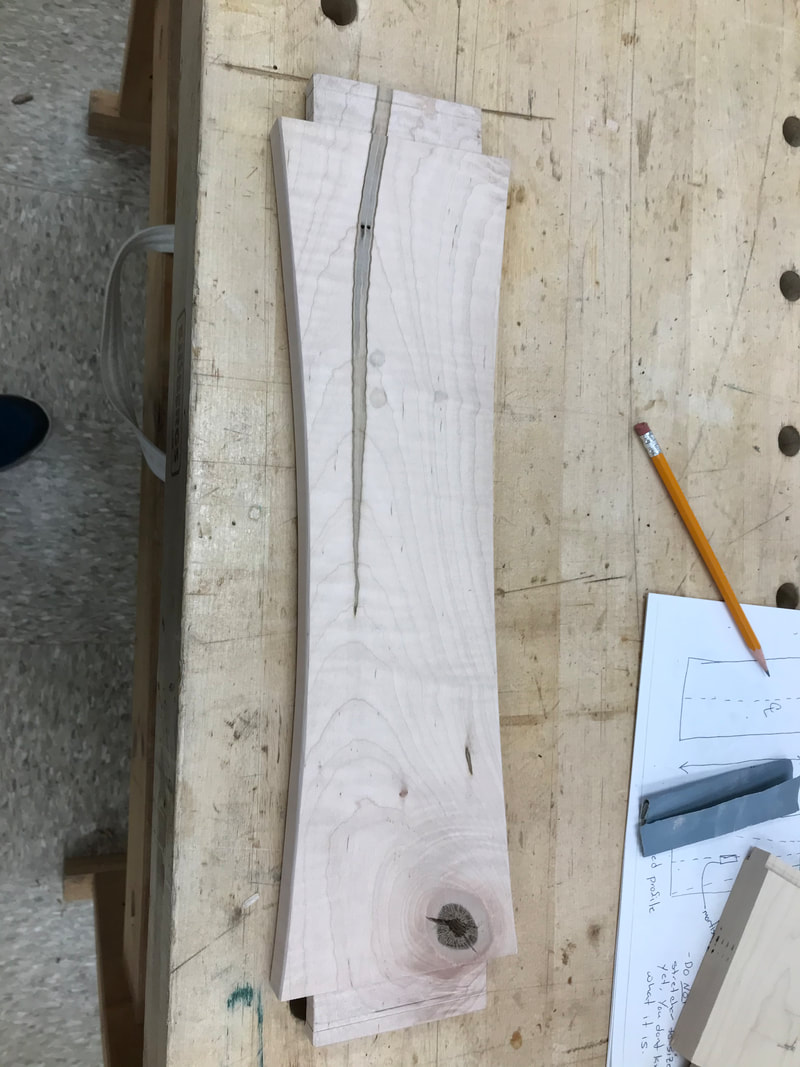
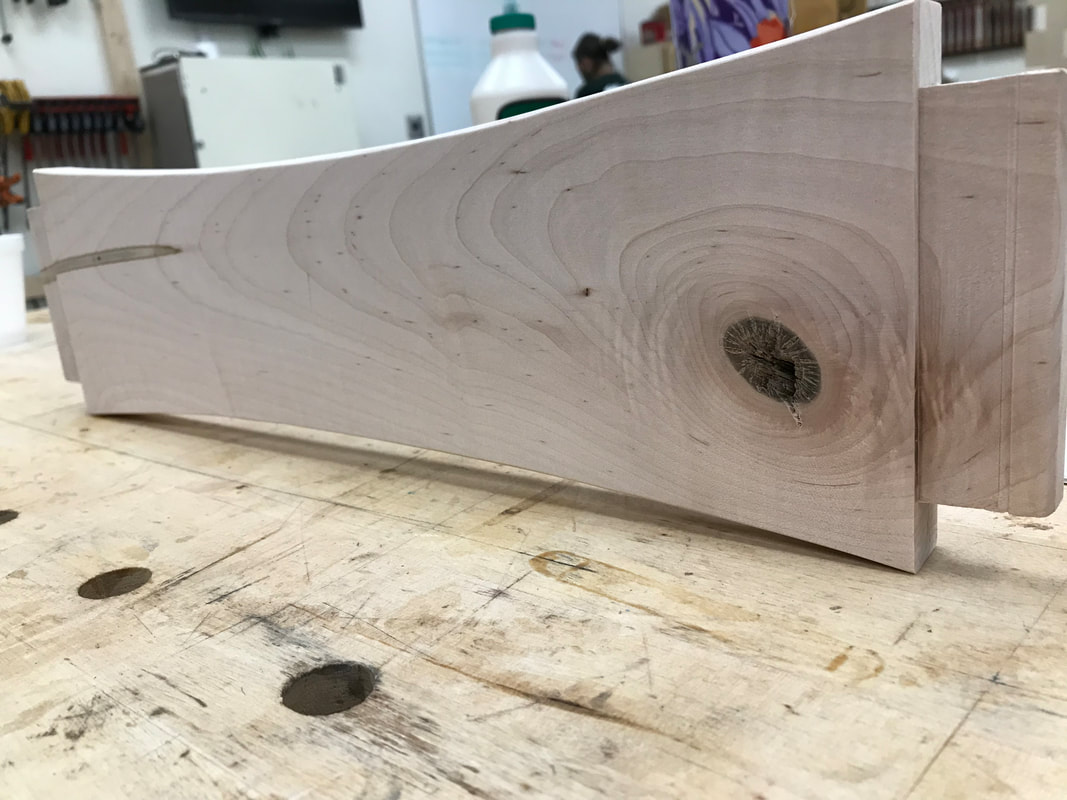
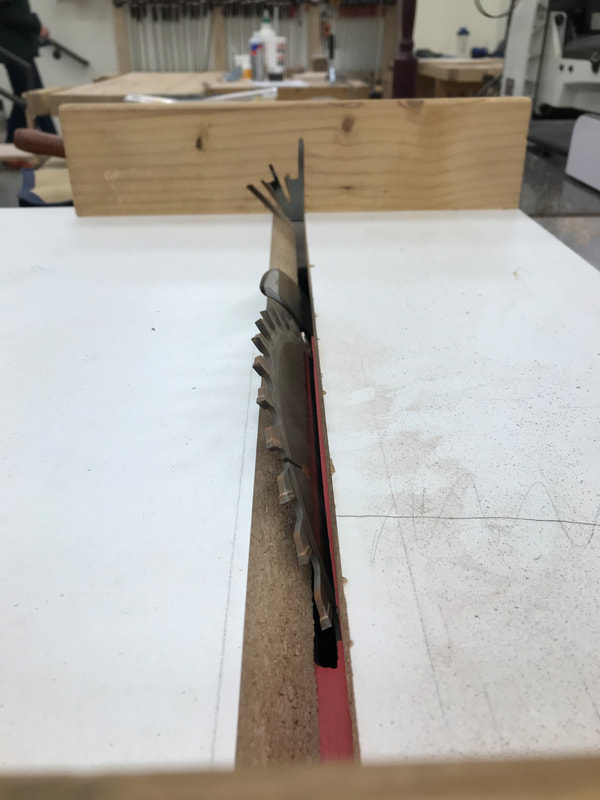
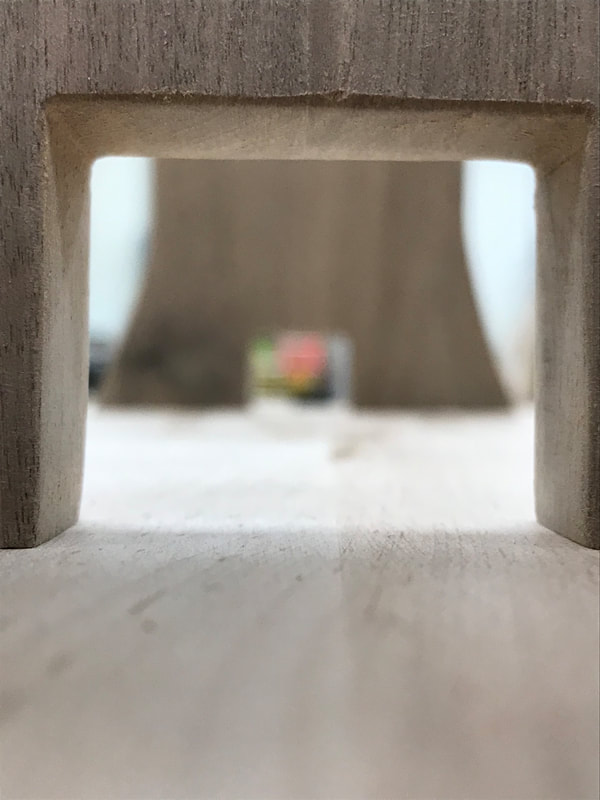
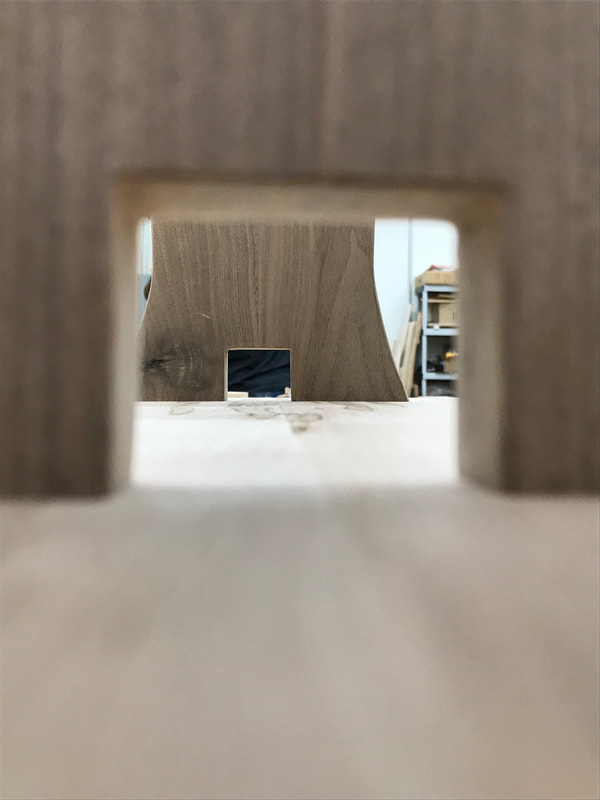
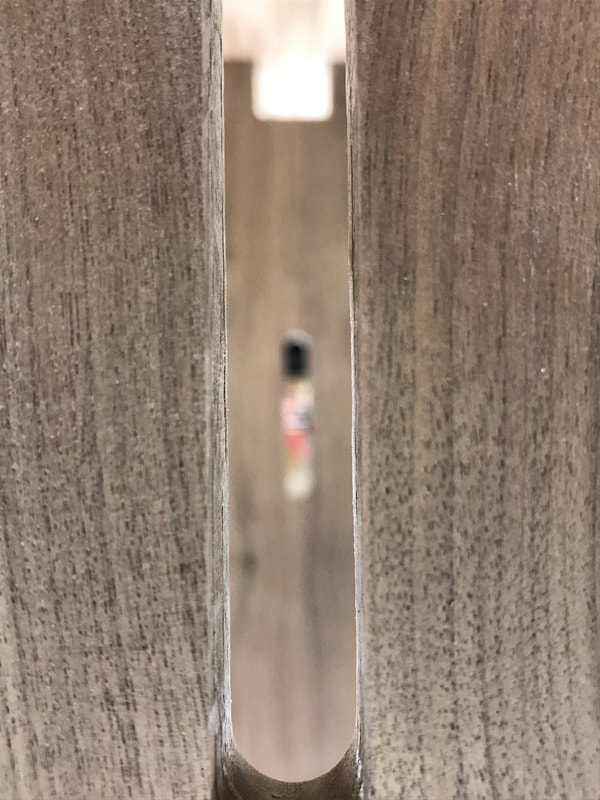
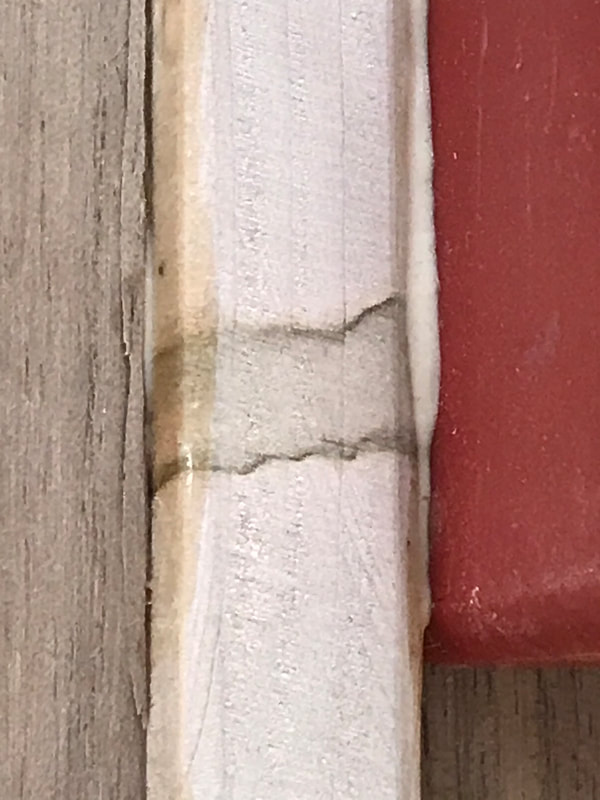
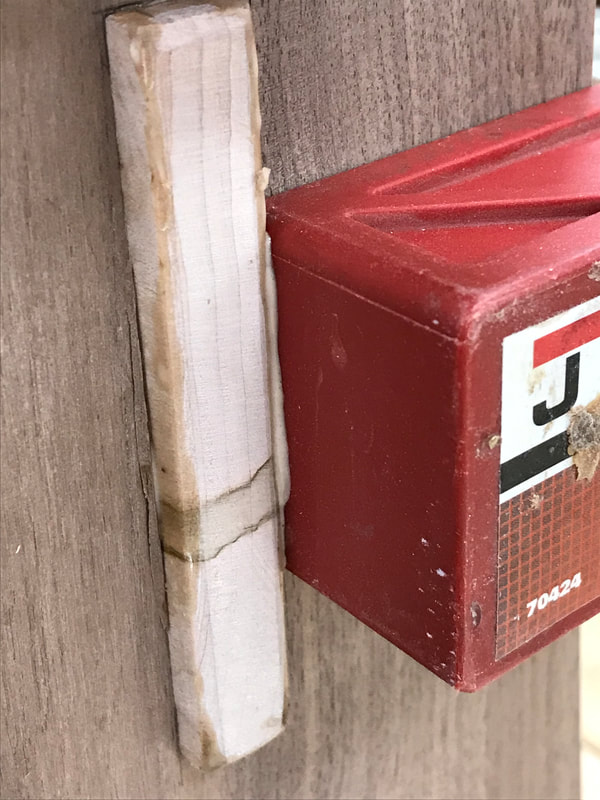
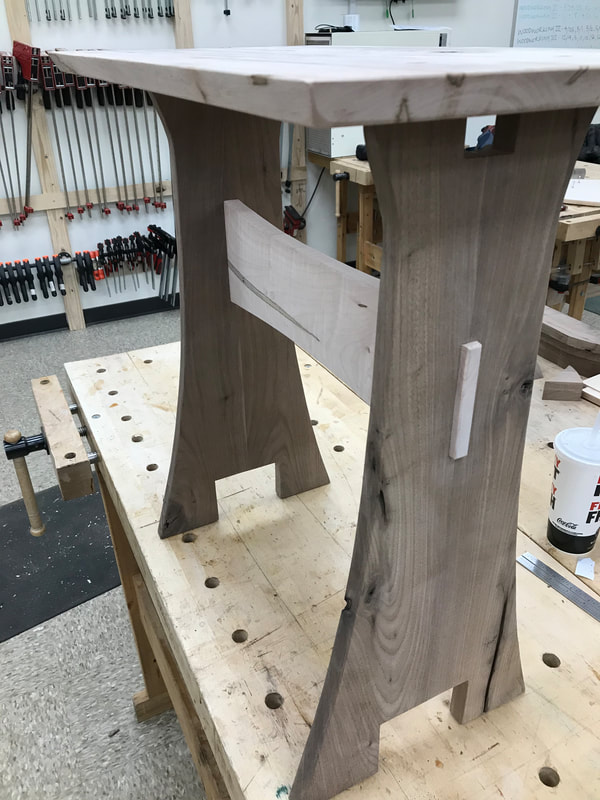
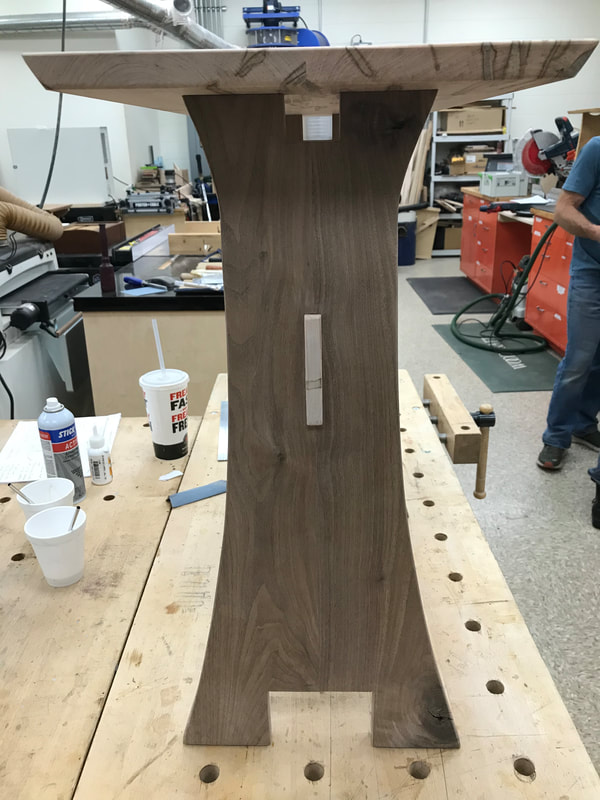
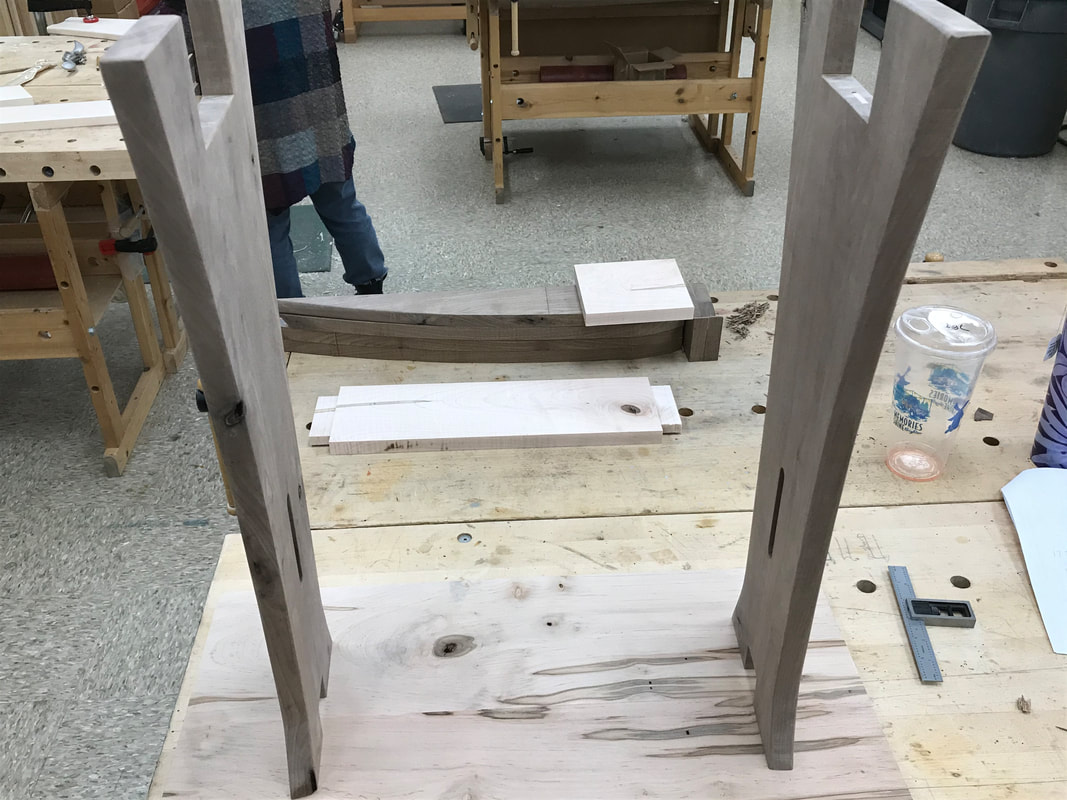
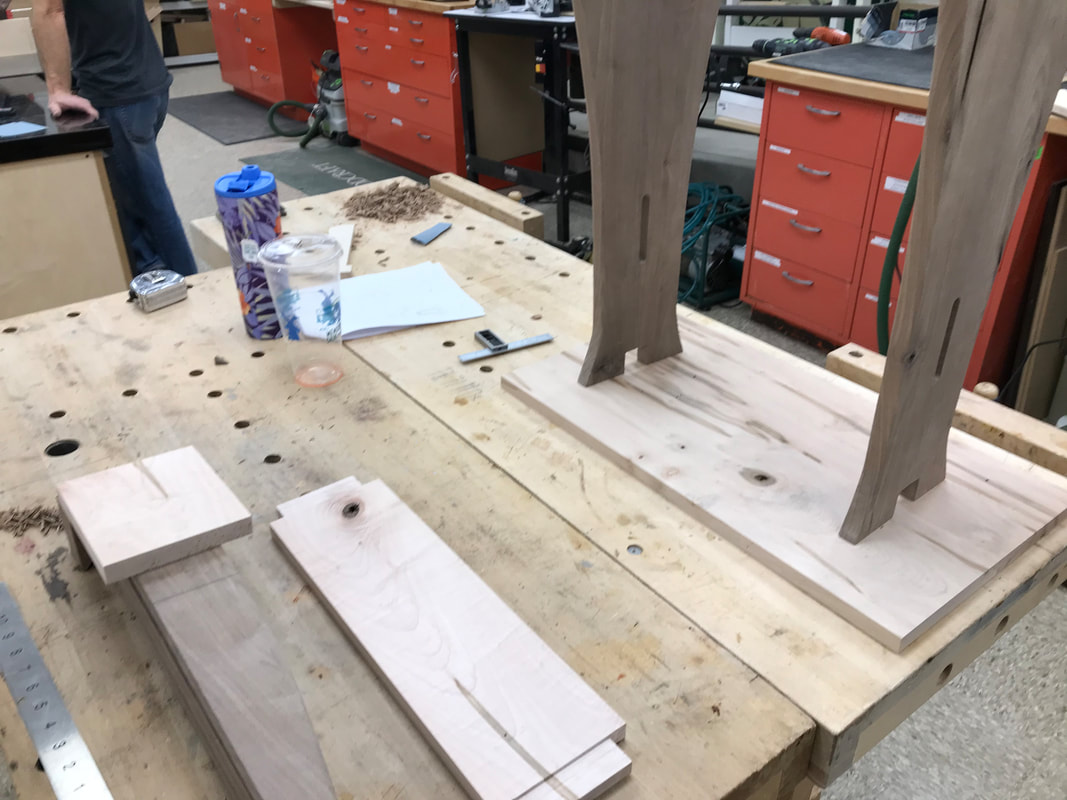
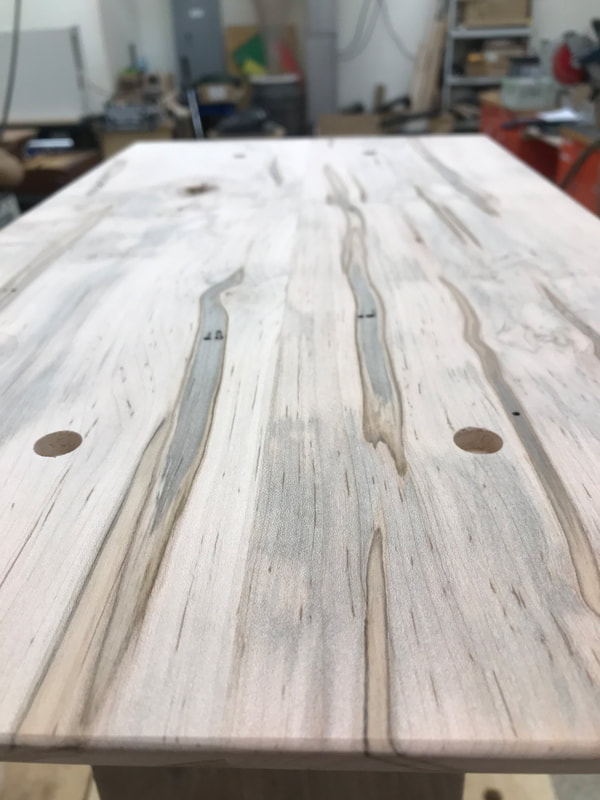
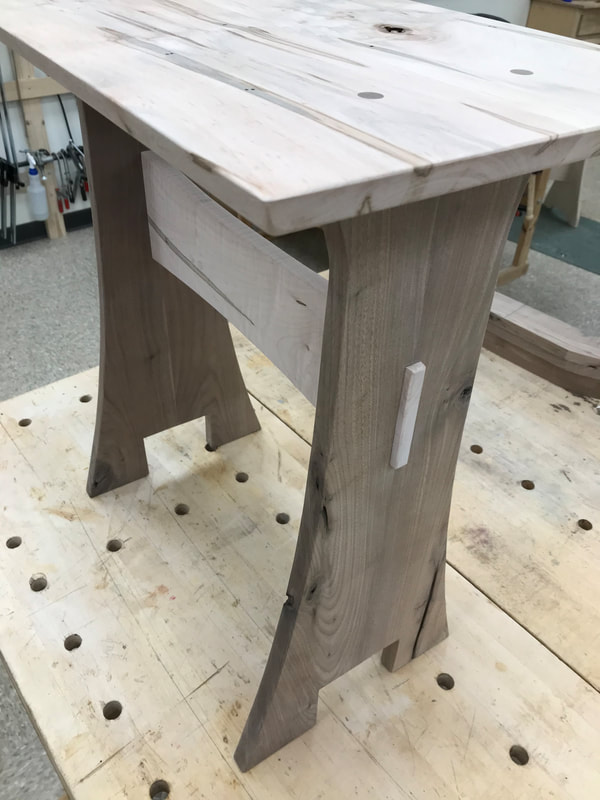
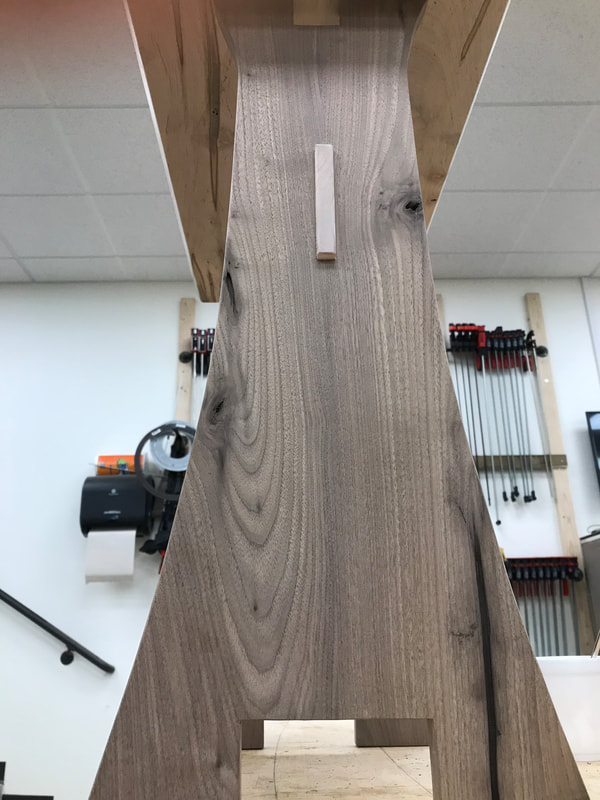
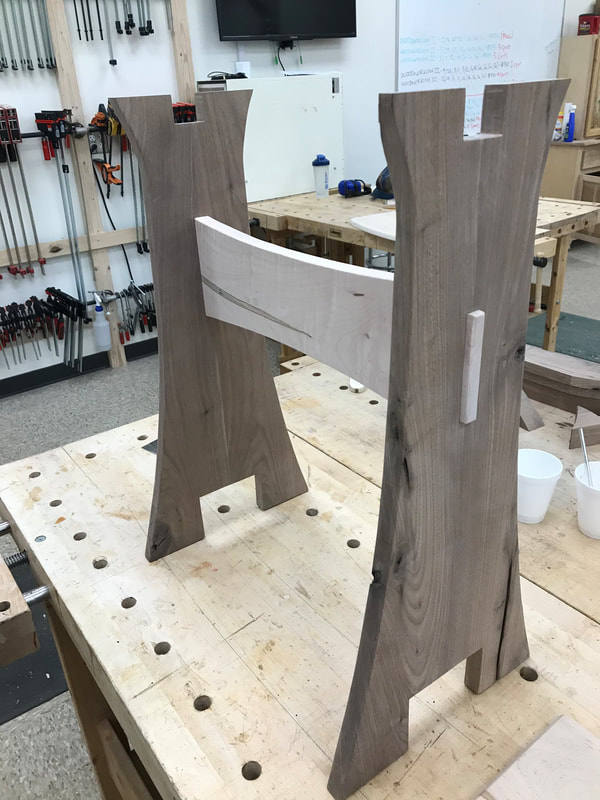
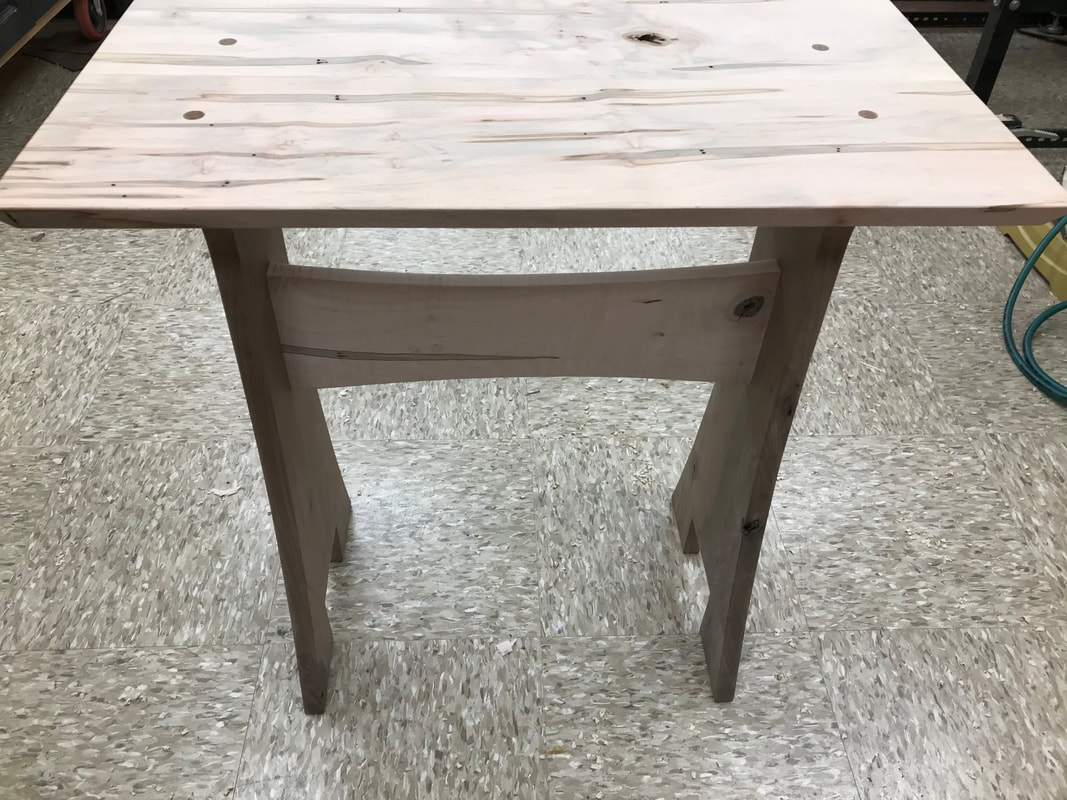
Creative Design Process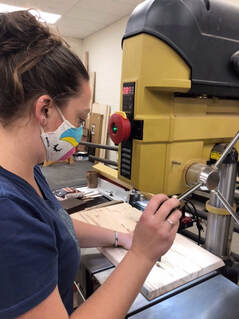 With day one of Woodworking I firmly tucked away and my boards happily glued together, I couldn’t wait to get back into the shop, but man....I had to wait an entire week before the class reconvened. But when it did, believe me when I tell you that days two and three of Woodworking I class went by in a blur, hence why they are getting combined into one telling. I didn’t want to wait a week to start shaping my curly maple and walnut into my idea of the perfect side table. But wait...what was my idea of the perfect side table? Um…um…crumbs, I had no idea. No idea other than a side table that doesn’t wobble and can hold things without collapsing, I felt those are two very important table qualities. As for what my “perfect” side table looks like...that’s an excellent question. Guess I should try to sketch that out. Well, okay...here I go. To the drawing board! 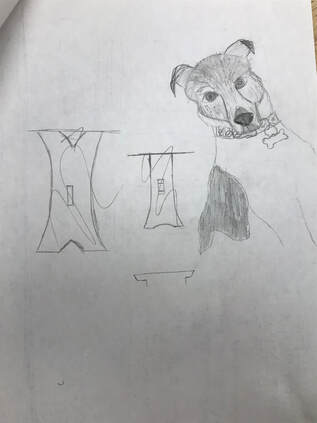 As you can see from my “sketches,” the one thing that I liked was the dog. Not an ideal table shape though. Figuring out a design was not as easy as I thought it was going to be. I want to say that if you are wanting to take this class, Brian offers a great sample piece that you can most definitely use as the pattern for yours. You don’t have to come up with your own design unless you want to, and I really wanted to. The two “designs” of the legs that I did sketch out relied heavily on Brian’s sample table; I just changed the embellishments at the top and bottom. In the end, they weren’t that “perfect” table I was looking for. Frustrated at my lack of creativity, I gave up trying to sketch table designs for the rest of the week. I arrived on day two of class no closer to knowing what I wanted my side table to look like than when I left class on day one. But it’s a funny thing… As I stood there looking at my glued up pieces of wood, deciding to use Brian’s design, I suddenly knew exactly what I wanted —clean lines and curves. Brian had in essence said that the wood would “tell” you what shaping it would work with; I didn’t grasp what he meant until that moment. I looked at my wood and saw outer curves with interior squared, right-angled cutouts to play counterpoint to the smooth lines of the outside curves. Huzzah! I was one with the wood...well, sort of; at least I knew where I wanted to go. Laguna Bandsaw Shaping ExperienceWell, I can’t just go to the bandsaw and start sawing away all willy nilly. That would not work well for ending up with nicely symmetrical table legs. So first, we tape! The boards together to make sure they will be the same no matter what. Then we cut! To make the board ends even. Then, we draw! On the wood. It took time and lots of measuring to get those outside curves equal and symmetrical. First, I had to find the middle of the board. Then I had to set tick marks equidistant away from the center on the bottom and top edges for start and stop points for the curve. This sounds pretty straight forward, but it was kind of hit and miss as it was a matter of getting top and bottom widths that I was happy with as well as making a curve that not only fit between the two but also looked good and not over exaggerated. Thank goodness I only had to figure this out once because of the table legs being taped together. Plus this way, if I mess up when cutting, it will be consistent to both pieces. With my boards firmly taped together and drawn on, it was finally time to face my fear and use the bandsaw. I admit that I went for the 14” bandsaw instead of the bigger one (yes, there was a bigger one). The 14” just seemed friendlier—if I can call a tool friendly, which I just did, so obviously I can. After politely introducing myself and dawning my ever-so-stylish protective eyewear, I turned that giant saw on and got down to the business of cutting the outside curves. I might have oopsed once or twice, but in a short amount of time, the outsides of the legs were cut. But what about the ninety-degree cutouts on the top and bottom? I can’t just turn the bandsaw blade ninety degrees when I get to the required spot. BRIAN!!!!!!!!!!! Whew! It was going to be hard to do, but not so hard that it deterred me from getting my cutouts done. Because a person can’t just do a straight cut then abruptly turn 90 degrees and keep cutting, you have to adapt. Adapting in this case means making multiple angled cuts into the area down to where your bottom line is, then backing out of them. Once all the cuts are done, you go back in at the opposite angle. Because of the existing cuts, the pieces fall out of the way, and you create a space wide enough for the bandsaw blade to fit so that you can turn the board to get a straight cut on the desired edge. This process took me awhile even though I only had to do it in two locations. I had to go back in repeatedly to clean up the bottom edge because I kept getting little spikes left behind from my angled cuts. I eventually got it to where I wanted it though, and that meant moving onto the next step. Routering and Planing and Chiseling...Oh MyCreating a MortiseThe legs being cut out, it was time for the class to take a “break” to learn how to use the router to create the mortise for the tenon that we would eventually be cutting on the cross board for the legs. For those of you not in the “know,” mortise and tenon joinery is simply creating a connection between two pieces of wood by creating essentially a hole (mortise) in one and a corresponding tongue (tennon) on the other. I say simply, but it is tricky to manage as you want your cuts exact and tight so that there is no wiggle. To get the mortise in the right spot required more measuring and finding the center of and marking crosshairs on my table leg so that I could line it up with the center marks on the template to ensure straight and proper placement. (Thankfully, Brian had the template premade so that we didn’t have to create that as well. That would have been another project in itself.) Once I got everything measured and lined up, this part was really fun. It required making multiple passes with the router, sinking its bit lower each pass to remove the wood bit by bit without compacting it into the ends, which would prevent the bit from reaching the entire desired length. When done, it left a beautiful oblong hole in the exact same spot on both legs. Spoke Shaves, Files, and Orbital Sanders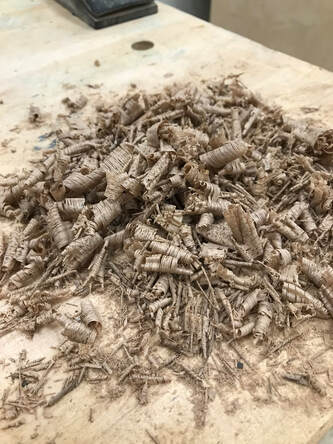 Once the table legs were sufficiently mortised, it was time to pry them apart and clean them up. Wanting to use as many tools as I could and determined to not let planing win (see Day One post about planing being the bane of my existence), I set to work on planing the outside curves of my table legs. I won’t say that I even got close to proficient using a plane, but I did get so that I didn’t want to throw a planer across the room. This is probably because at this point I was using this handy little tool called a spoke shave instead of a hand plane. This tool I found infinitely easier to use than a full-sized hand plane. Plus, I made really pretty wood curls using it too, so that was satisfying. With the table legs’ curves smoothed out to my level of satisfaction with the spoke shave, it was time to use a file to smooth out my squared inside cuts. This took me forever. As with the hand planer it was difficult for me to keep the file blade flat to avoid creating one edge that was lower than the other one. There was a lot of me dancing around my table leg to make sure that I was doing even strokes from each direction to try to equal out my angling tendency, and I had to do this in four different spots. You have no idea how happy I was when I got to the stage of using sandpaper instead. It was like the sun came out and smiled upon me and my work. Sanding is great. Truly, not only is it fun to do, it signals that your project is almost to the stage that you can glue it all together. I probably played with the orbital sander longer than necessary, but it was honestly kind of relaxing to just keep passing the sander over the wood to get that wonderfully smooth surface and using the sander to get the exact level of softness on the legs’ edges so that they weren’t as sharp but still kept the nice clean lines that I wanted. You want something sanded? I’d be happy to do it. Ha ha. Making a TenonSanding, I have down, but then it all got tricky again when it came time to make a tenon that fit exactly in the mortise. Yet again, I had to be difficult and wanted to have a square tenon that sat proud to the table leg (sticking out, not flush). Not difficult in making the tenon itself, but in that I was going to have to chisel out the mortise to accommodate the square-shaped tenon rather than chiseling the tenon to fit the rounded ends of the mortise. First things first though, making the tenon. To do so, required my crossbeam (already with parallel edges and cut to length) and this fancy set up called a dado stack. I am infinitely glad that Brian set up this table saw blade as it is actually two blades with spacers between them set to create the exact size needed to create a tenon. (There is a chart that tells you how many spacers are needed for the size that you want, so this is something that would be easy to learn to use.) Once the size is set properly, it is simply a matter of using a fence to run the ends of your board through the saw to create your tenon. Simple enough, but I am sure had I been on my own setting this up, it would have taken several trial and errors. Thank the woodworking gods that Brian was there to make sure that didn’t happen, and eight passes later on the dado stack, and I had two beautifully rectangular tenons. More shaping, shaving, and sanding later, I used my tenon to mark lines around my mortises where the squared tenon edges actually hit. Then it was time to chisel. Not that I would have ran in all gung-ho and and tried to remove the needed wood out of the mortise in one blow, but it is important to note that this needs to be done layer by layer to make sure that wood doesn’t split and that the hole created doesn't end up being too big for the tenon to fit into snugly. So I chiseled a little, then checked the fit. Then chiseled some more and checked the fit. Then, yes, there was more chiseling and checking the fit until Eureka! I had two mortises that the tenons fit into just right. I couldn’t believe it! It was time for one last pass with the orbital sander and some hand sanding then time to glue the legs and crossbeam together. Fun fact, because I chose to have my tenons proud of the actual leg, it was a pain in the patootie to clean up the excess glue. I won’t bore you with the details — let’s just say it involved more chiseling and, yes, planing. While my table legs sat drying ever so nicely in their clamps, I was able to cut my table top. I had decided early on that I wanted it to be rectangular and not rounded at all. Mostly due to the fact that I wanted to keep that contrast of curves and square edges. What I decided at this point in the project was that I wanted to angle the edges so that the top surface area was bigger than the bottom. So, it was back to the table saw to set the blade at an angle to cut the edges. Then, you can see where this is going...more sanding. Drill Press and Plug Cutting BitsBut after sanding...it was time to create countersunk screw holes on the top and “gasp!” actually attach the top to the bottom. First and not surprisingly, there was more measuring to mark where each section of the leg was going to attach. Then drilling a small hole from the bottom side up so that we could see where to put the special drill press bit on the top side to create the countersunk hole. Then using a drill again to drill through the hole and mark the legs to then drill pilot holes using those marks to then screw the top of the table to its base. Lots of drilling, which just ask Brian, I am laughably bad at. Can’t keep a drill perpendicular to save my life. I was saved only by the fact that Brian was there to correct my errant drill-using ways. So, I said that I really liked sanding. Well, it’s butt got kicked by using the drill press to make plugs to fill the countersunk holes that we set into the tabletop for the screws. It requires a special bit called, of all things, a plug cutter. Despite the fact that they weren’t very creative in naming the bit, it really is a super fun thing to do. Just take the wood you want to make a plug and slowly plunge, backup, plunge, backup until you reach the depth that you set on the press. Repeat this process for the number of needed plugs, and then use a flat-head screwdriver to pop them out. Careful, these babies can really fly...there might still be one of mine hiding in the Woodcraft shop after I accidentally sent it flying… ...And So I Made a Piece of Fine Wood FurnitureAfter twenty four hours, three classes, and much cutting, sanding, planing, and learning about tools, I had made a table. Not just any table, a perfect table. Does it have flaws? You bet your first-born child it does, but to me it is still perfect because I built it. I started this class thinking that there was no way on this blue planet I could ever make anything that anyone would ever call fine wood furniture. Not only did Brian’s class prove me incredibly wrong, it taught me so many skills when it comes to woodworking and tool usage. It’s not a class that just focuses on getting to the desired end result; Brian’s class is about understanding the whats, whys, and hows of getting there. To be honest, I will still probably have to look up certain tool names or process terms online; my brain just refuses to remember proper names. But, even without remembering names, I still know what the tools are for and how to use them properly. I can still explain to you why you shouldn’t have big areas of opposite grained woods attached together unless you have made adjustments for it. I can also sharpen chisels if I really wanted to. Most importantly, I can safely and comfortably use every tool that I have in my garage, and I can use them to make something beautiful and functional. Comments are closed.
|


Email [email protected] | Company Brian Hubel | Address Colorado Springs | Phone 719.667-0577 | Serving Worldwide
This website and its content is copyright of Brian Hubel, Hubel Handcrafted Interiors Inc., and my not be reproduced, sold, or claimed without written permission.
Copyright ©1998-2021 All Rights Reserved